
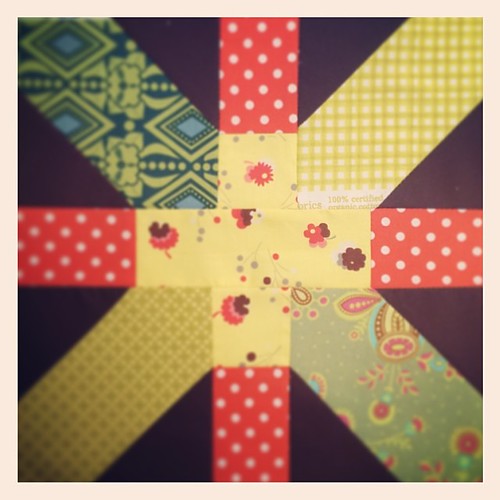
I began my blocks using Brenda's sketch for a 12.5 Japanese x and + block which you can find here.
I decided to take her sketch and create a step by step tutorial (I'm a visual learner...you?)
I decided to take her sketch and create a step by step tutorial (I'm a visual learner...you?)
Step 1. Choose and Prep your fabric
I like x and + blocks that are saturated and full of contrast like this beautiful example from a little gray. I love the fussy cutting in Gone Aussie Quilting's version (full quilt here). And there are a lot of other options out there such as doing an all low volume background. My choices and notes below are just suggestions based on a saturated layout, you are all artists so pick what works for you!
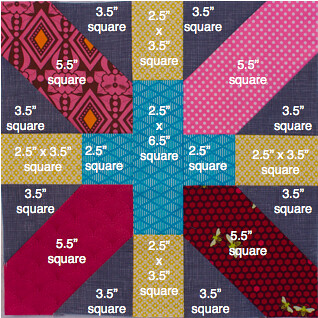
Once you've gotten your fabric picked (and good luck I found picking my fabric was one of the hardest parts of this block) you can start cutting.
For your + fabric:
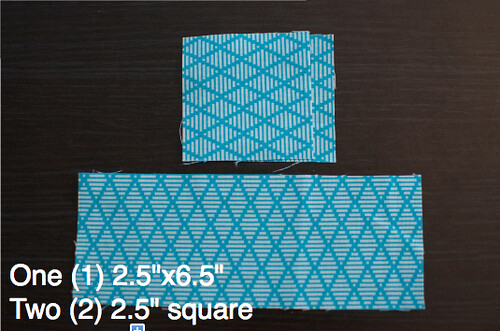
Fabric flanking the +:
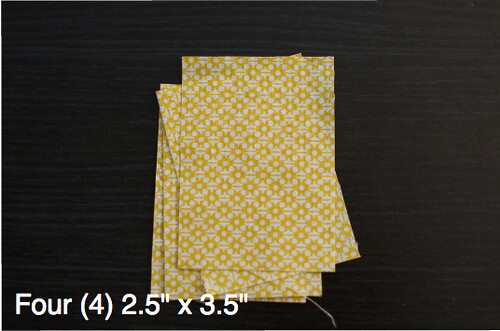
Background fabric to x:
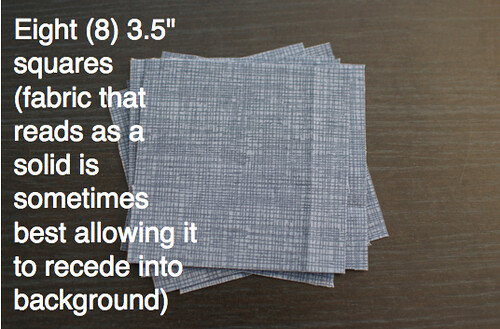
Fabric that forms the x:

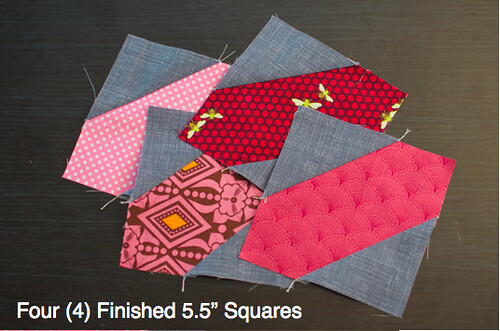
Step 2: Create the four blocks that form the X
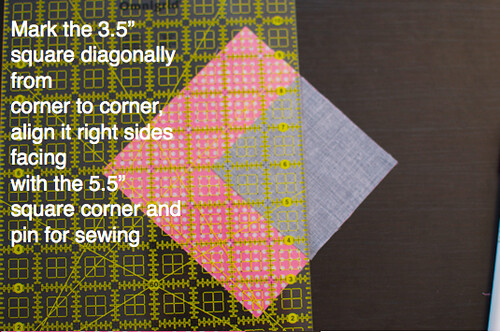
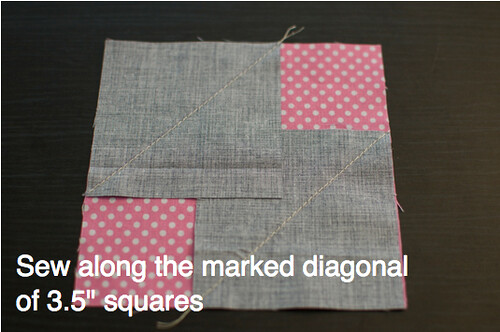
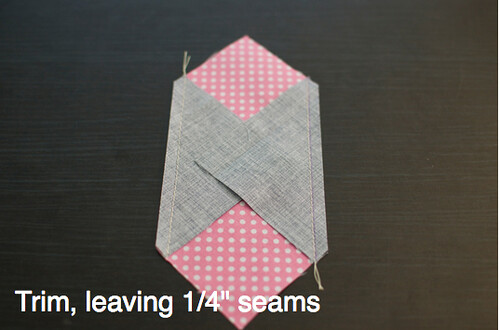
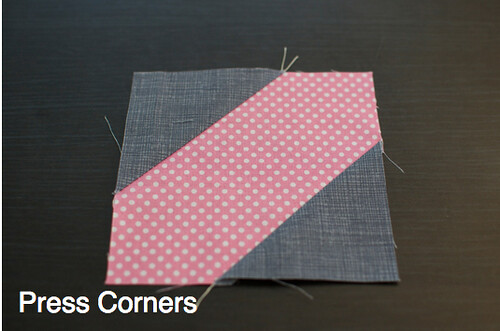
Repeat for each of your 5.5" and 3.5" squares until you have 4 finished squares... If you prefer chain piecing as I do, I suggest prepping all four blocks at once and sitting and chain piecing one after the other.
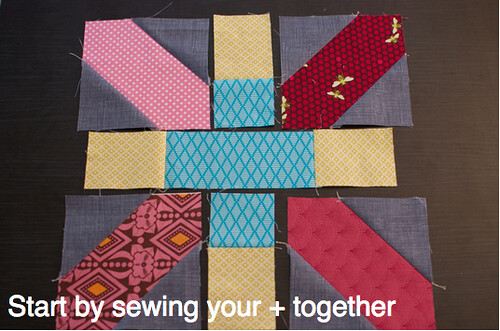
Step 3: Sew your +
I wanted to make sure my block was going to look just right before I put all the pieces together so before sewing my + I laid it out to move around the pieces and fix the layout.
I then sewed the horizontal strip for the + first. REMEMBER: a scant 1/4" seam!

Next sew the top and bottom parts of the +
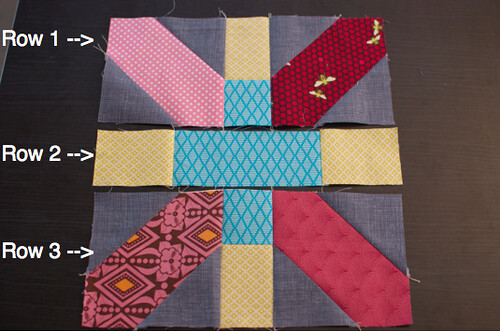
Step 4: Sew your rows
After completing your + you can complete the three rows for your block...
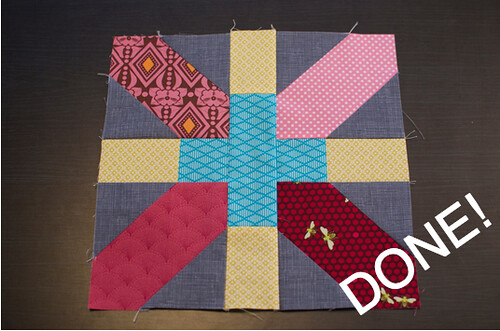
Step 5: Sew your rows together to complete your block!
Have any tips or tricks you use when making these blocks? Leave a comment below!
- rebecca lynne
11 comments:
Thank you for this tutorial. One of my very favorite blocks and I have wanted one this size :)
ooh it makes me SO happy when someone does the quilty math for me - THANKS!! :-)
BRILLIANT! I love this block and I love that it uses lots of 'standard' sizes that I can pull from my scrap bins!
You did a glorious job! I cannot wait to make some of my own using your tutorial!
Sorry to be so late commenting on your gorgeous block - I shall get to it!
I seen the Japanese Quilt of these x's and French icons- I totally fell in love with it. I made my pattern and have been making them over the past couple months. My pattern is the same as yours. '
I found you from She Can Quilt. You are in my neck of the woods. I live in Rochester. I saw your link to the Quilt Show. I am telling a few of the ladies from my guild about it.
I need to make some of these. Thank you for the tutorial.
This is a perfect titorial for a visual learner. Thank you.
I've made this quilt a time or two. I like to draw a second line 1/2" outside the diagonal line and sew on that line also. Then trim between the lines. This will yield a half-square triangle unit that can be trimmed to 2-1/2" for another project. Thanks.
Thanks for the picture, I am also a Visual learner. Always wanted to do this Block I shall have a go at it this afternoon.
Lieben Gruß Sylvia
Post a Comment