Welcome to this Tuesday's Tutorial - Custom Burp Cloths. This should really be called the Dummy's Guide to Custom Burp Cloths because this is a no frills method to creating custom burp cloths. This straightforward approach is purposely geared towards people who feel less than comfortable around a sewing machine but are determined to give a beautiful handmade gift at a baby shower. If that is you, I commend you and I will happily walk you through this as best as I can. I decided to write this tutorial after a close friend, who abhors sewing machines and rotary cutters (
even though she did a rather good job with her first quilt without me standing by her to see it through, admittedly it did require many phone calls and text messaging...ha!) asked me to show her how to make these burp cloths.
For those of you with sewing skills this is a really simple gift idea that is useful, easy to whip up, and impressive for the lovers of handmade baby items in your life. This is
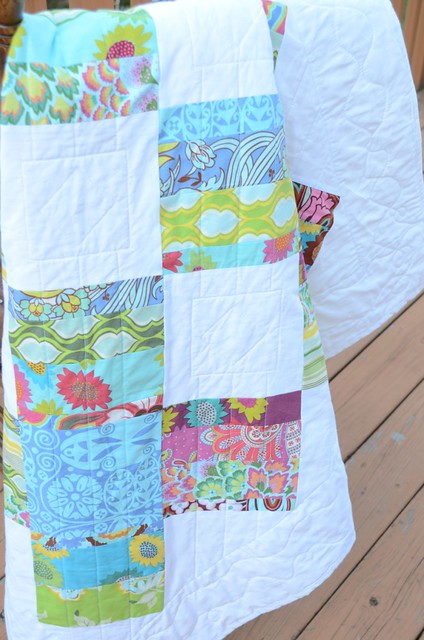
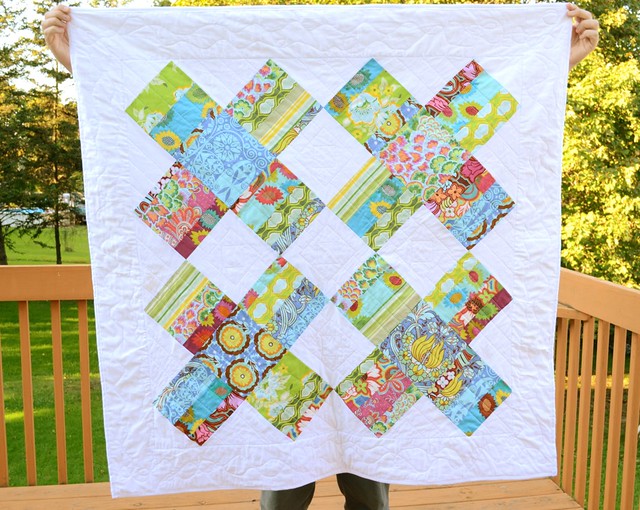
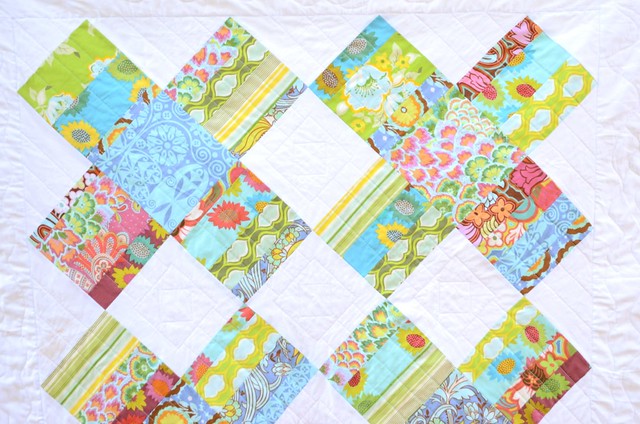
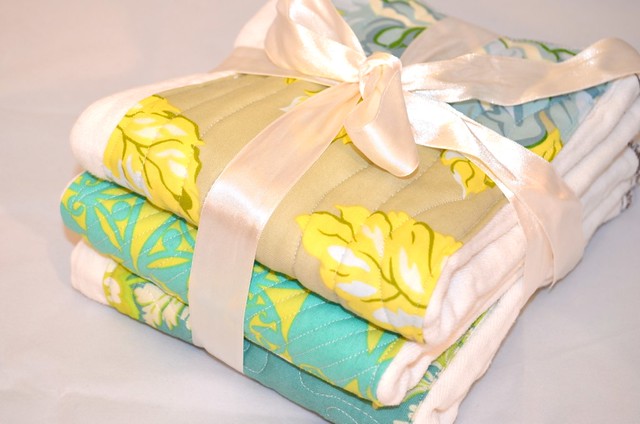
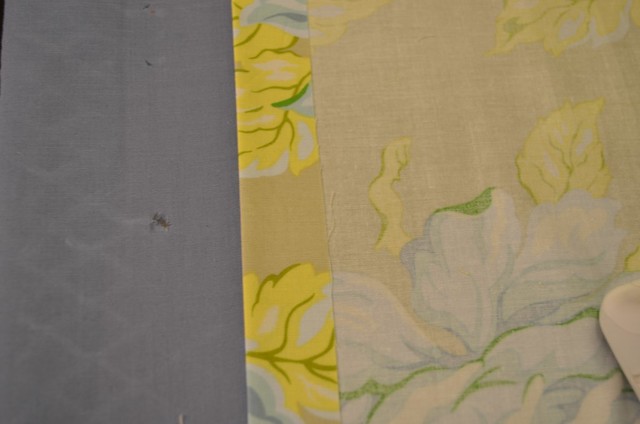
perfect to use those extra baby quilt scraps you may have leftover - every recipient of a Rebecca Lynne baby quilt has received matching burp cloths and the mothers go gaga that it is all matchy matchy. Plus, you will enjoy getting really creative with this method and beautifying your burp cloths with intricate patchwork and quilting. Feel free to go as detailed if you like with this although I would recommend keeping your recipient in mind. I chose a blue, gray, green, and yellow color palette with minimal patchwork as that is what this particular Mommy to Be prefers...very modern and streamlined.
Skill Level: Easy Peasy intended for those haters of all things involving sewing machines
Materials:
- Cloth Diapers
- Fabric - easily done with fat quarters (FQ) or whatever scraps you have around
- Sewing Machine (haha, unless you want to do it by hand in which case be my guest)
- Coordinating Thread
- Ruler
- Iron (& board)
- Scissors (Rotary Cutter if you have but not required)
1. Choosing your Cloth Diapers
You can buy cloth diapers from a variety of online sources such as
here and
here. If you are wondering why I use cloth diapers over other possible fabrics I will tell you that as a mother of two projectile spit-up drool fest children I have tried almost every type of material as a burp cloth and the cloth diaper is hands down the most absorbent & least smelliest plus easiest to clean alternative. I mean, come on, think about what they are intended to soak up anyway...so yeah, spit up? They're all over it. Plus, once your child has outgrown the burp cloth phase these now beautified cloth diapers make wonderful dust rags!
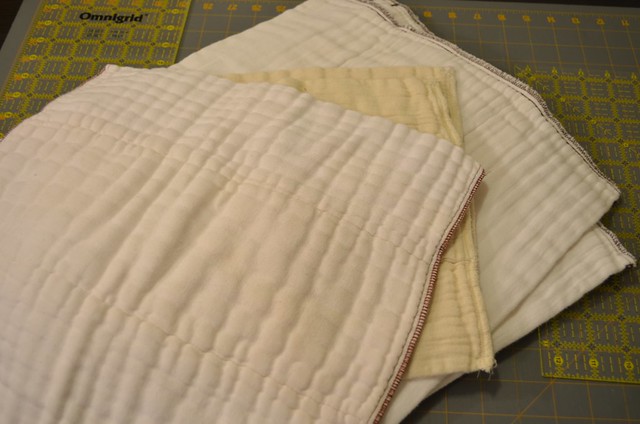
There are a variety of cloth diapers out there. Multiple sizes, multiple thicknesses, and natural versus bleached white. If you have a particular color palette in mind you should go with whatever shade will go with your fabric best. For this tutorial I will be using white XL prefolds.
 |
| White |
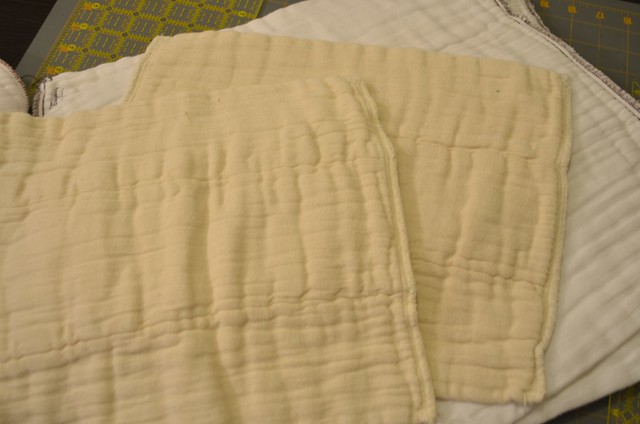 |
| Natural |
 |
| Varying Thicknesses |
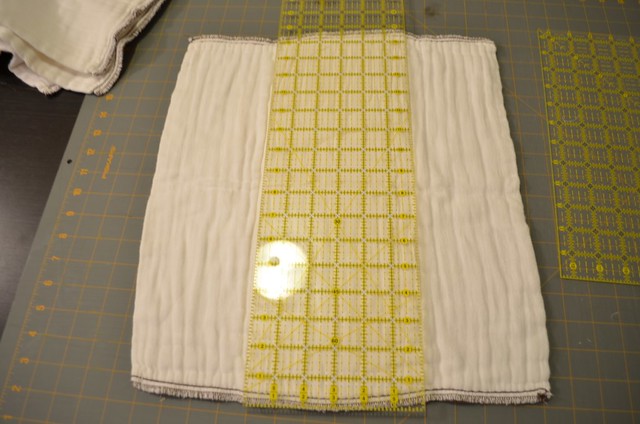
2. Measure your cloth diapers to determine fabric size
Once you have your diapers chosen you will measure how long they are. You will also decide how wide you would like your fabric to be across the diaper. For this tutorial I chose a width of 6" and my diapers measured 17" long.
3. Cut your fabric
You will cut your fabric to allow for a 1" seam all around. This
generous seam allowance will prevent fraying and also give you plenty of room to press your fabric's edges. In my example I cut the fabric 19"x8" to provide a 1" seam.
Experienced sewers, you can obviously piece your fabric rather than have on solid piece and you may shorten your seam allowance to the standard 1/4" if you prefer.
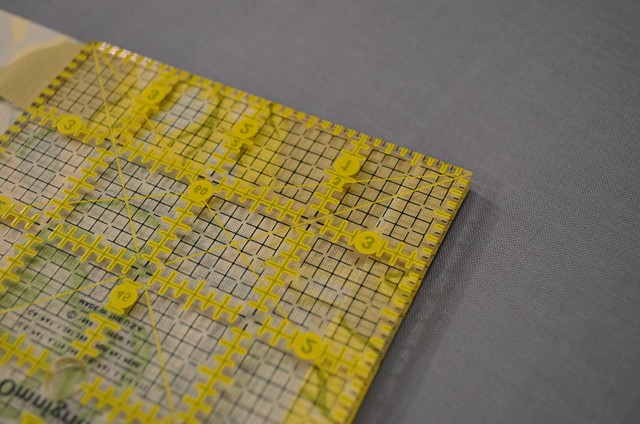
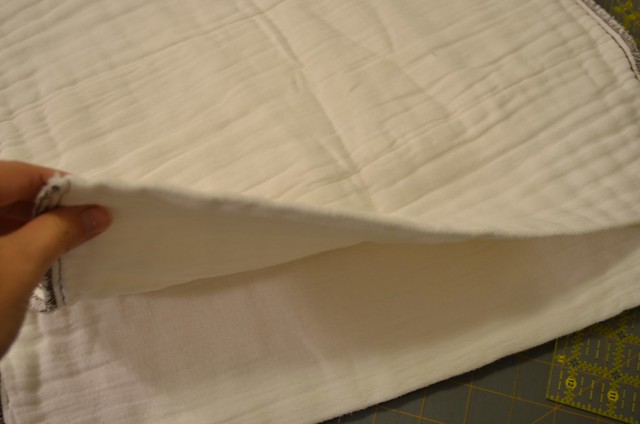
4. Press your long edges
After cutting your fabric you will place the fabric face down and fold over each edge 1" and
press that portion down with your iron. Do this for the longest edges of your fabric.
You will want to have your ruler handy to make sure your 1" is consistent otherwise your fabric piece may turn out wonky and stretched.
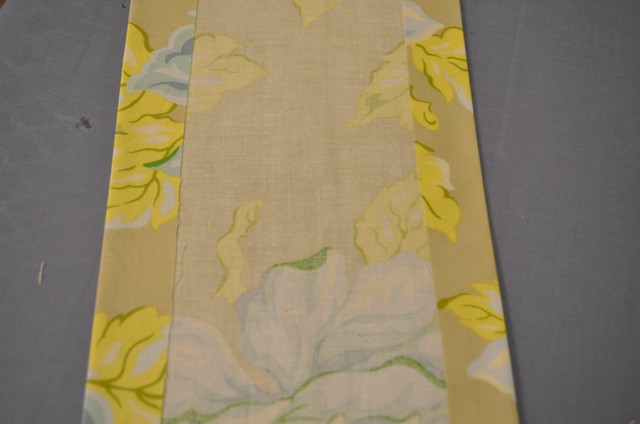
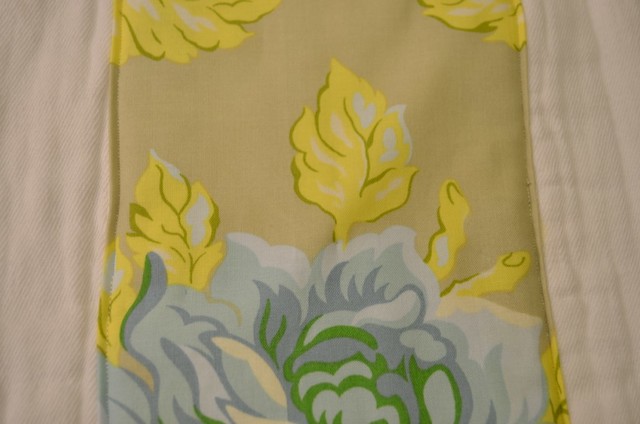
Once you are done pressing the longest sides it should look like this.
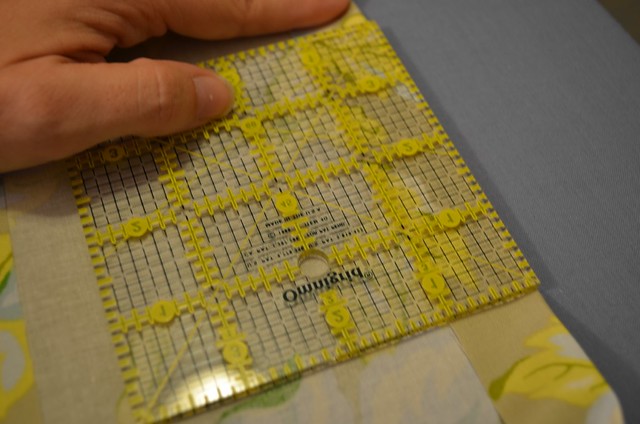
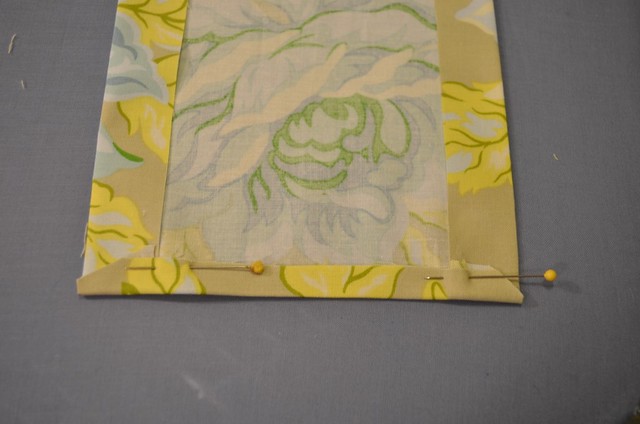
5. Pressing the shorter edges
You will press your shorter edges using the ruler as a guide to make sure your corners are squared. This pressing is not as important as you may need to alter it a bit when it comes to sewing. Don't worry...it isn't hard to alter later...but if you press now then you will have a guide as to the appropriate "edge" of the fabric.
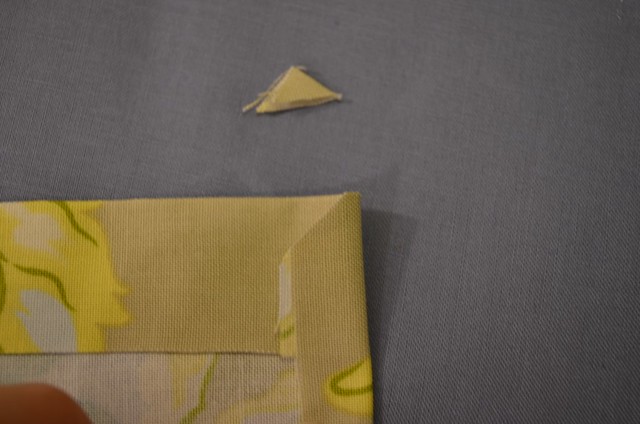
Once your short edges are pressed you will want to snip the corner so that the corners do not get in the way when sewn.
Sometimes these bits do not want to stay so to save yourself from later headaches you may choose to pin them down.
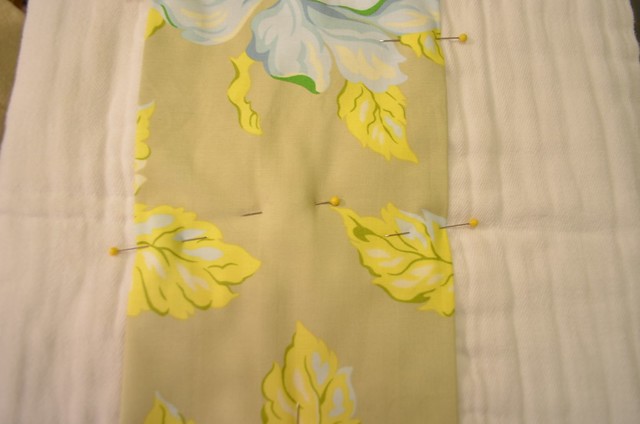
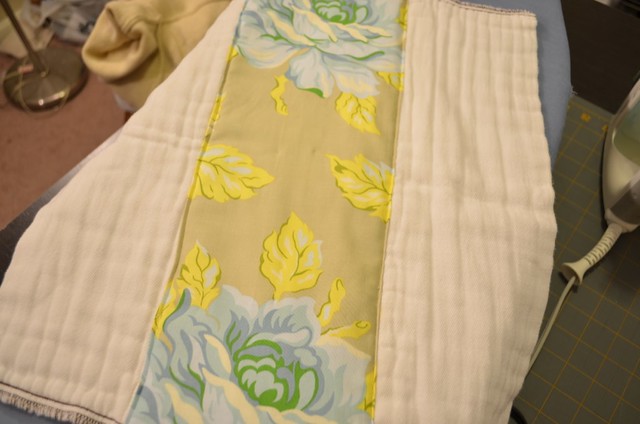
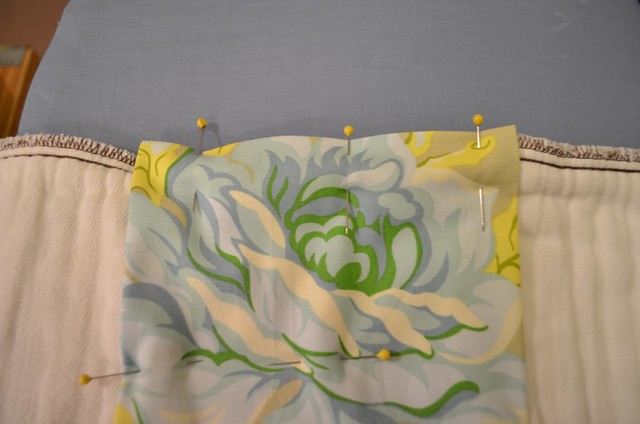
6. Aligning your fabric with the cloth diaper
Now that your fabric is the size you require for your particular design you will lay it along the diaper. Once you have placed it in the way you'd like it to lay you will pin it to the diaper. The pinning doesn't need to be beautiful, but pinning is important as the diaper is thick with multiple layers and things can get shifted when placed under the sewing machine presser foot. Be sure to pin your short edges all the way across the edge of the diaper.
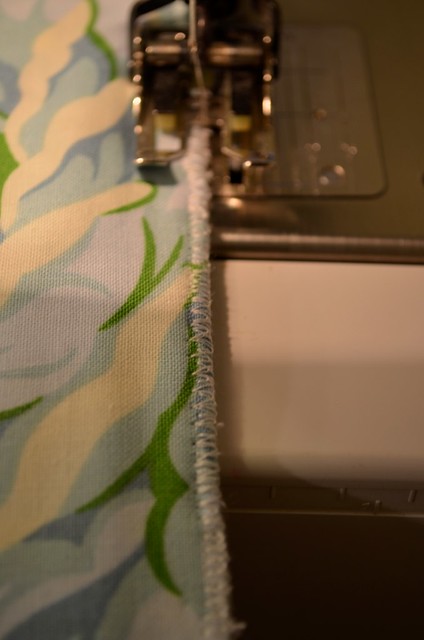
 7. Sewing ONE short edge onto the diaper
You will attach your first short edge onto the diaper using a zig zag stitch. If your diapers are like mine this will blend in naturally with the serged stitching that is already keeping the folds of the cloth diaper together. For a secure zig zag you will want to keep your fabric in the center of the presser foot so that the zig zag goes all the way around the side of the fabric. You may want to widen the width of your zig zag to match the serged edges. I also go over my zig zag in reverse to reinforce and match the density of the threading on the cloth diapers serged edges (if you aren't comfortable reversing then take the piece off and simply go over it again moving forward).
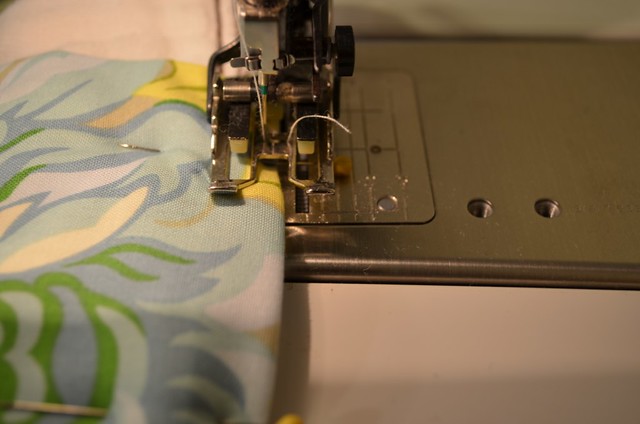 |
| Center your fabric for the zig zag stitch |
8. Sewing your long edges
You will now take the piece off the sewing machine, cut your threads, and you will begin sewing the long edges along the length of the diaper. Change your machine from the zig zag to a regular stitch. To prevent your fabric from sticking up and out you will want to sew as closely to the edge of the fabric as possible. I used a walking foot, but a regular presser foot works just as well. (If you don't know what I am talking about, just disregard.)
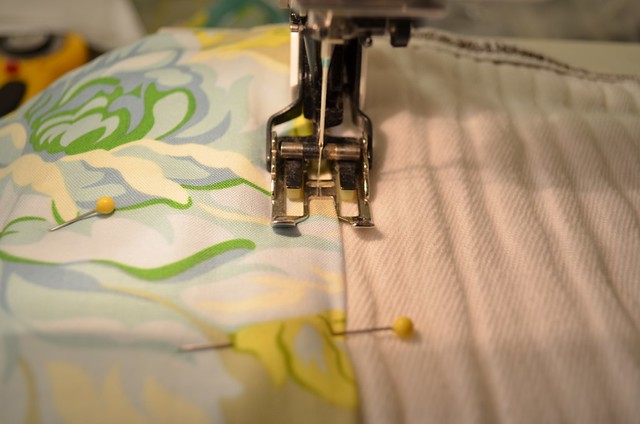 |
| Close to the edge as possible |
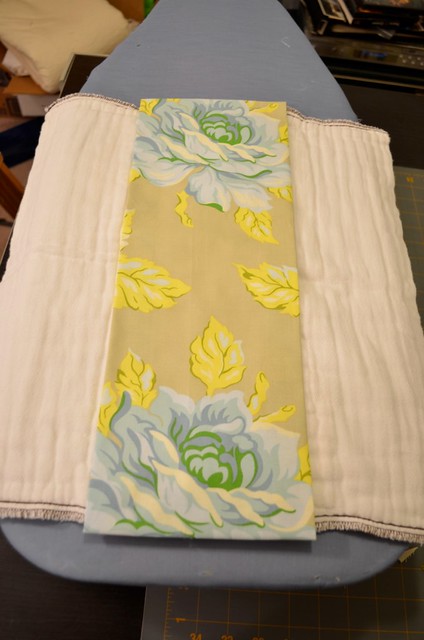
Repeat this with the second long side. And it should look like this...
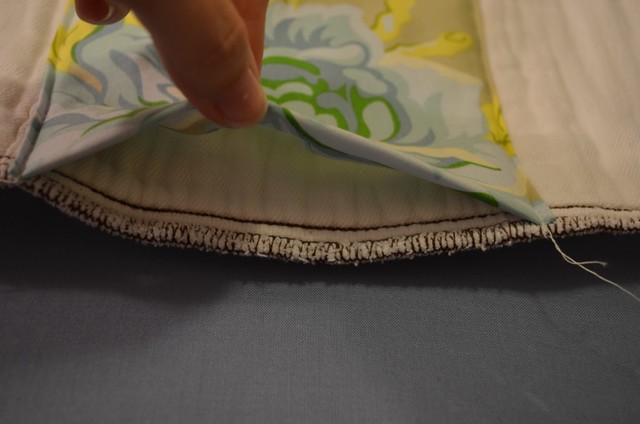
No I have not forgotten about the last short edge...it should still be unsewn and look like this...
9. Last short edge
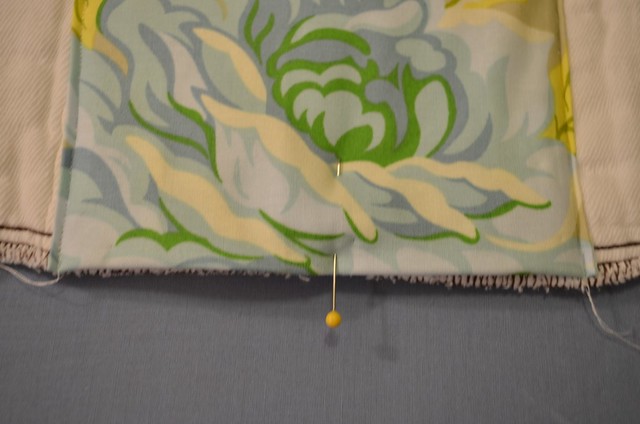
You will want to pin your last edge to make sure it meets the end of the cloth diaper. The reason why we leave this edge open to the last is because of all those slippery layers. Leaving this side open allows you to readjust, pull, refold your last edge to fit the length of the diaper. Cloth diapers are not a perfect rectangle and often have curvy edges so leaving this last bit to adjust allows you to compensate for that irregularity. Just trying to make your life easier - wink. (excuse fuzzy photo)
After pinning all you will do is repeat Step 7 by zig zagging this last edge to the cloth diaper.
10. Cut your threads and Voila! Done!
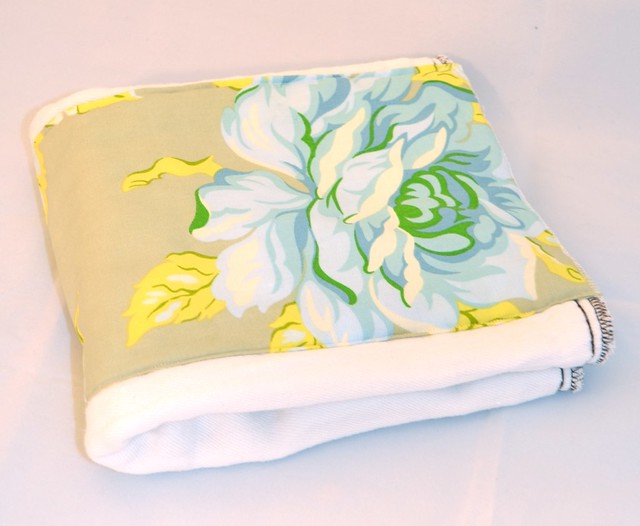 |
| Finished Basic Custom Burp Cloth |
11. For The Advanced or Adventurous Sewers
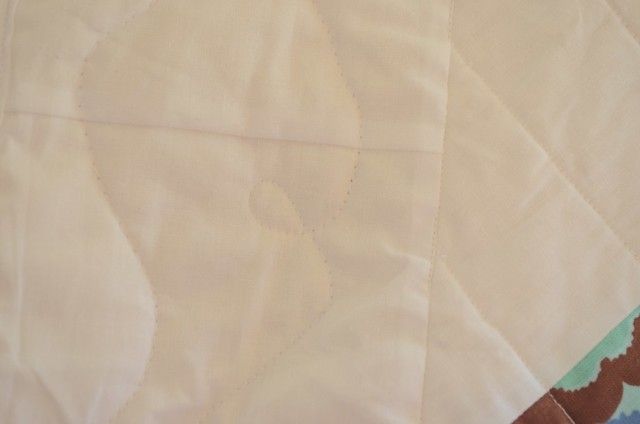
There is no need to go any further so if you are relieved to be able to walk away from the sewing machine Congrats you are done! If you'd like to do a bit more then press on. The thickness of the material is a great opportunity to practice your free motion quilting skills or do some cool patchwork piecing to make your burp cloths even more unique. As you can see here I decided to do a bit of FMQ experimentation.
![]()
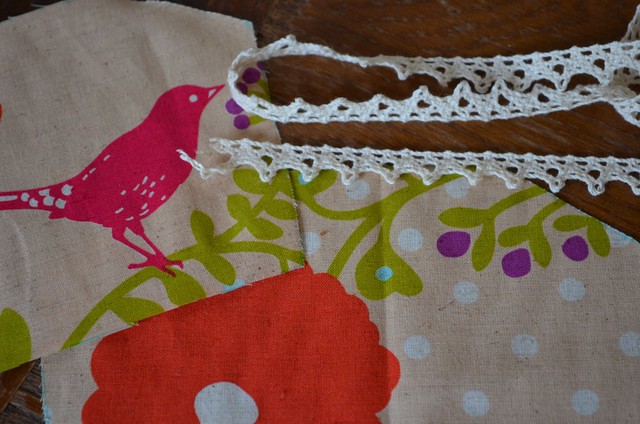
Also, I would be remiss if I failed to point out that instead of having the fabric running along the length of the diapers you can also choose to simply
bind your cloth diapers along the serged edges. This saves fabric and is a very beautiful alternative to the method shown here. The majority of the cloth diapers I received as a gift are completed in this manner and are extremely simple and beautiful with just a binding of pretty fabric running along the short edges of the diaper cloth.
If you decide to make any custom burp cloths of your own please let me know! I'd love to see and share them in a post!
- rebecca lynne