Showing posts with label spinning stars. Show all posts

Sunday, April 15, 2012

UFO's MRL Style

Let's face it.  This baby is Kicking My @!#.  Alright, to be fair, it isn't all him/her...it is his/her's sisters, the consistently indecisive "is this Winter or Spring weather" we are experiencing, and my full time job all ganging up on me.  Whoever is to blame I am constantly tired and unmotivated.  At 32 weeks pregnant I suppose no one has any right to judge my "laziness" but at the same I am more than a bit disappointed in my lack of motivation and yet even that disappointment fails to get me moving on my list of projects.

Well, with that said, I was able to get my bum in gear to go to the playground with my girls yesterday and took some decent shots of them playing.  It was during my review of these shots that I came across some older photos of quilt tops I have started and left unfinished.  WINCE  Unfinished Objects...oooh they can sting.  Ick I hate being faced with the fact that I may have bit off more than I can chew...awful feeling really...

Remember any of these?
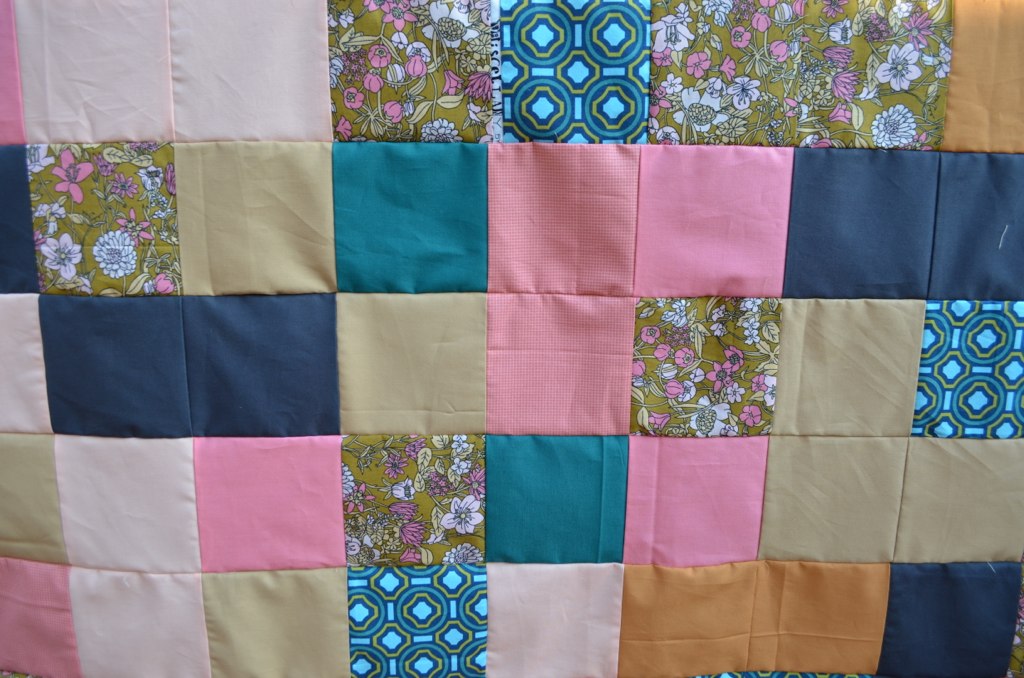
Dead Simple Quilt


The Flight Across

Hummingbirds & Hexagons

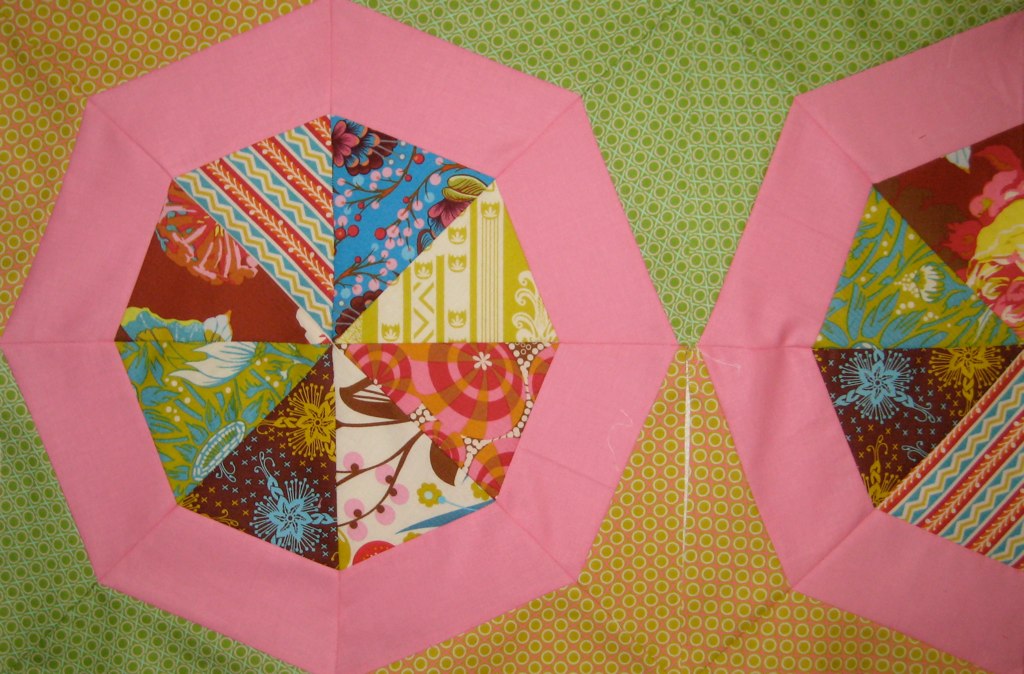
Spinning Stars Pink Block with Loulouthi

And some of you know these are just the ones I have "somewhat finished."  [Anyone remember the Across the Sea quilt?  Yup, still have that in my sewing room waiting to be finished...  Oh and Helen don't even MENTION the Tumbling Blocks.]  Eeeew, makes me cringe.  These are all at different stages, some have quilt backs prepared, some are mid-quilting, some I never found backs for, and the Spinning Stars doesn't even have a completed top yet!  Yuck, yuck, tsk tsp Rebecca Lynne.

Alright.  I am going to set my sights low.  Rebecca Lynne, let's compromise shall we?  Why not finish one of these completely before Baby No. 3 is born.  What do you think?  H&H is already half quilted...I should just set my mind on finishing that quilt and at least something will be complete!  I'd love to have The Flight Across with me in the hospital as it is really meaningful to our lives since we moved here...so maybe that can be low goal #2.  See?  Already jumping ahead...first things first...

In an effort to be positive: I still LOVE these quilt tops, the worst is when you put so much time into a quilt top and then aren't into it anymore.  I don't suffer from that affliction yet thanks goodness.  If I can get my act into gear hopefully I won't reach that stage with these quilts!

Wish me luck tackling these UFOs!  Anything you are trying to get done these days but can't seem to pull the trigger?  I'd love to hear...

- rebecca lynne

Tuesday, August 9, 2011

Spinning Stars Quilt [First Block!]

Alright, tsk tsk, I completely skipped ahead and instead of cutting all my pieces like a good girl should...well I just decided that I had to actually sew a square together to get back into Spinning Stars.  My brain has been consumed by the twisting triangles nonsense that I couldn't get back into the groove!  So...even though I have to cut more Piece Bs and 18 more Piece Cs I went ahead and made a block with what I had anyway...  Pssht, it's my quilt right?  I can do what I want!

I am so glad I did because now I want to finish this quilt even more than when I originally started it!!!

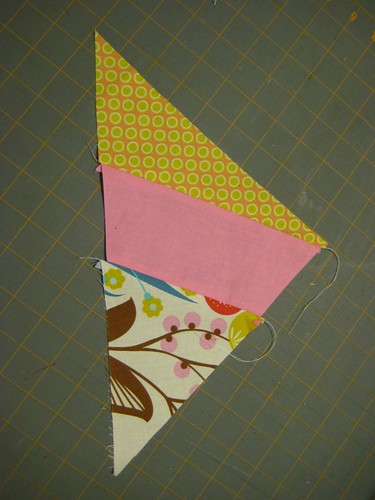
Basically you sew the three pieces, A, B, and C, together to form a triangle.  Having had so much practice doing that with the twisting triangles this was really a piece of cake and a pleasure...ha...

IMG_4875
Triangle with Pieces A, B, C


And of course...two triangles together makes a square...

IMG_4882
Square
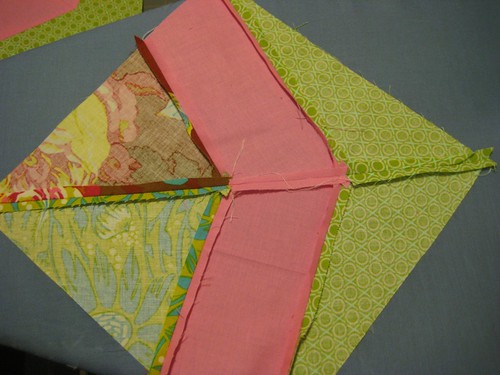
I was a little worried that I was really going to screw up this pattern.  But I am SO PROUD to report that I am rocking it!  As always, I ironed my seams.  I think every quilter has a step that they kind of fudge over...mine is squaring up my blocks...I just don't.  But when it comes to ironing the seams of my piecing I am completely faithful.  It always makes my life so much easier when it comes to lining up the seams with each other...

IMG_4887
Ironed Seams


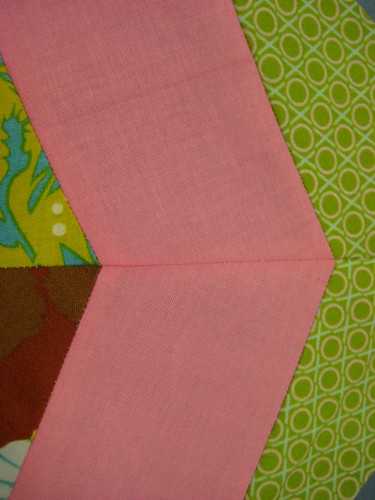
And my anal inclination paid off because my points look perfect, if I do say so myself, and the seams line up perfectly...  I am not afraid to include this close up to prove it!

IMG_4891
Perfect Point and Lined Up Seams!


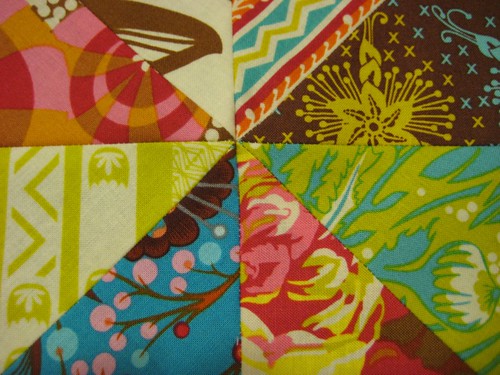
There I am...happily sewing along...all of my seams lining up...everything looking amazingly hunky dory for being sewn at 11pm after a long migraine day.  (not a cryptic catch phrase, I just literally had a migraine all day)  Look at how beautiful these center seams meet up in the middle of my block!

IMG_4898
Center Seams Lining Up


Yup, uh hunh, perfect...  Um...well almost...

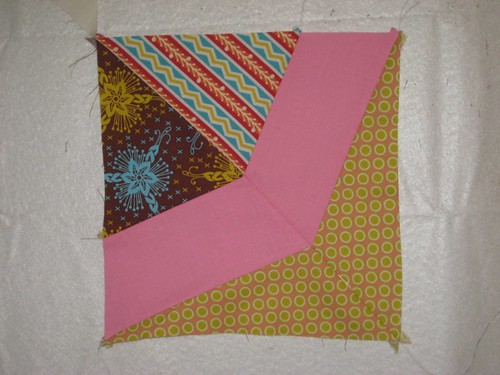
Here is my block.  Notice anything amiss?

IMG_4900
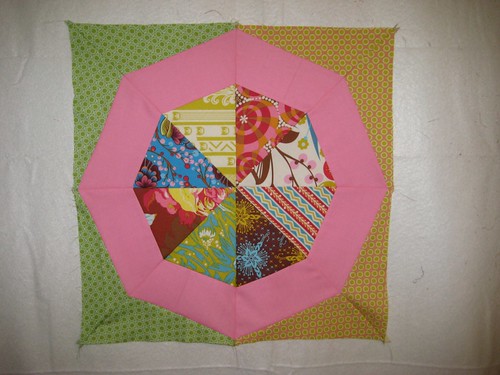
Mistake Block


Well?  Anything?  Yeah...well...the green and yellow corners are supposed to alternate!  You know, the yellow corner should be diagonal from the other yellow corner!  Mental stomp around the room and wave fists around temper tantrum.  What I did in reality was roll my eyes to the ceiling and curse myself...but I'll spare you that here.

I had a choice.  Stop now or pull through.  Hmmm...I couldn't just seam rip the center seam because I actually would have to seam rip 2/3rds apart because the squares on one half needed to be flipped.  OR I could just make another 2 squares.  Eh, I figured I already have to make more blocks why not just head in that same direction?  So I did.

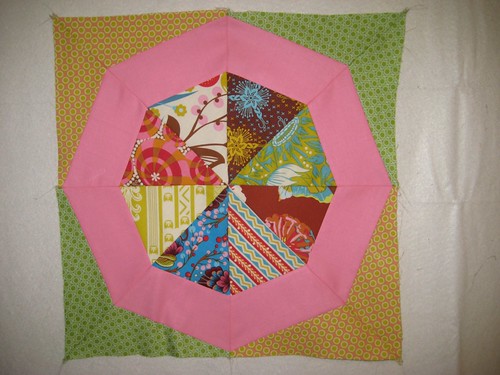
Here it is!  My First Finished Block for Spinning Stars!

IMG_4901
Spinning Stars Pink First Finished Block
At first I thought - hmmmm - maybe this Pink was not such a great choice.  But...then I placed the 1/2 block next to it and sure enough you can see how the yellow and green stars created by the outline of the pink are going to look.  I thought, wow, this is exactly what I hoped for!  The yellow and green shapes are going to set off the bright pink and really let the center fabrics shine.

Spinning Stars Pink Block & a Half
I feel so great.  I love that feeling of having just accomplished something major.  I really have to take a sewing break for a few days but I wanted to make some headway on this!  I have jewelry to create and ugh, there are more boxes to unpack and organize.  I'll be back for WIP Wednesday and something new I'm going to call Think Tank Thursday!  Come back to see...

- rebecca lynne

Friday, July 29, 2011

Spinning Stars Quilt [Cutting]

I will be away from sewing and the computer for the next week or so as we move to our new home.  Today was spent packing up our belongings used over the last month while living at my in-laws.  There will be a lot to update you on when I return and am plugged in again (we have been having the DSL vs. Cable Internet discussion).  Before I packed my computer I wanted to post about starting Spinning Stars - yes I have been working on it! 

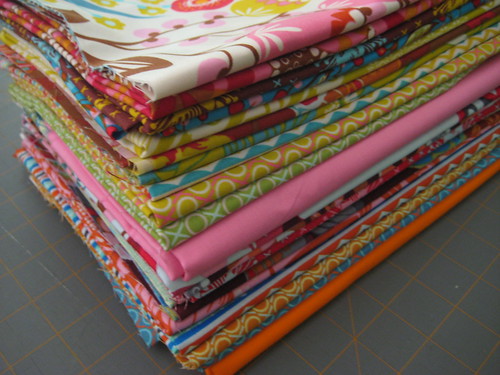
I ordered two 1/2 yard bundles of the Loulouthi line in the Eleni and Isabella colorways from The Intrepid Thread.  I was so thrilled when the package arrived that I did a few mental jumping jacks and eagerly ripped open the box.  In other words, I failed to do a proper show & tell of the beautiful packaging job executed by The Intrepid Thread!  Forgive me, instead I will describe the elegant white tissue paper wrapped around my bundles with purple ribbon and the thoughtful touch of the matching purple business card attached.  Oh, and I cannot fail to mention the fabric samples that were also included in the box!  Miss E immediately jumped on them and was simply enchanted with the Alphabet Soup sample we received.  Thank you Intrepid Thread - I hope both my girls will come to love fabric as much as I do!

Loulouthi 1/2 Yard Bundle
Loulouthi

Every once in awhile you come across fabric that is so...well the only word I can use with all honesty is delicious.  Yes, delicious.  I felt this way about Amy Butler's Midwest Modern, Anna Maria Horner's Good Folks and I feel this way about Anna Maria Horner's Loulouthi.  I enjoy it so much that it hurts.  I just want to immerse myself in this fabric!  Whew - okay had to get that fabric lust out.

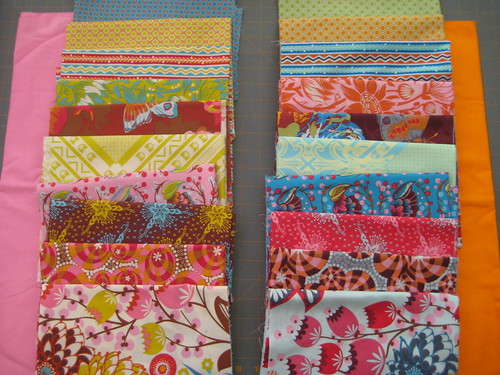
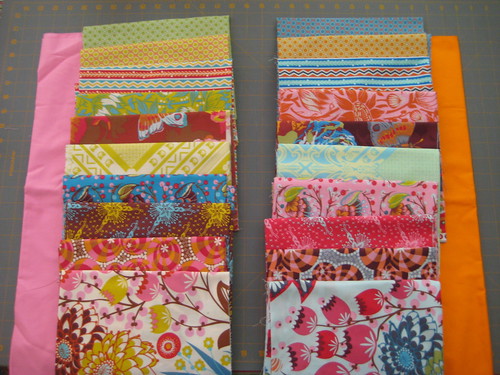
I laid out the two colorways and switched a few things around to better suit my Free Spirit Designer Pink and Orange solids.  The first photo below shows the original colorways with the solids...and the second photo depicts my slight changes.
Spinning Stars Quilt Fabric
Original Colorways
Loulouthi Colorways Original
My Colorway: switched two of the fabrics with each other.
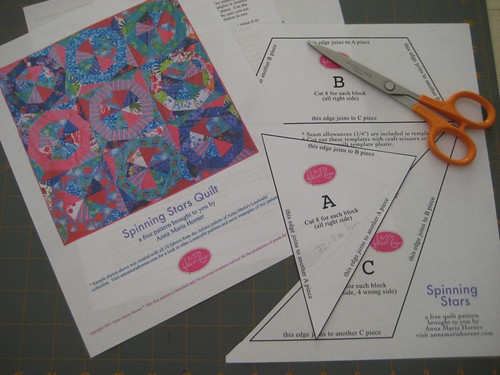
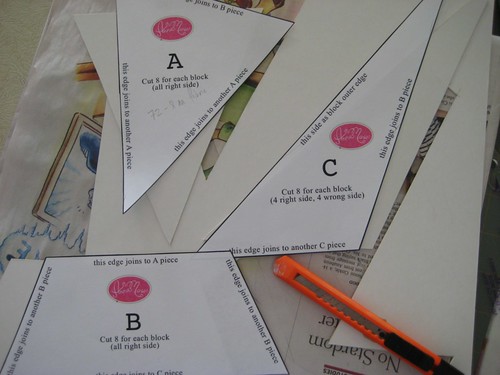
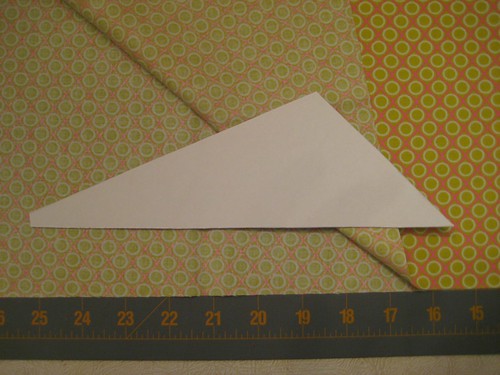
Then I finally started cutting.  I decided to start on one quilt at a time as it is likely that I'll be able to learn something from the first to ease my creation of the second.  I hope!  So I chose to do Pink first.  I printed out the pattern instructions and template and got started.  
IMG_4563
Template from Anna Maria Horner's Website

IMG_4567
Transferring Templates onto Cardstock or Cardboard is extremely helpful
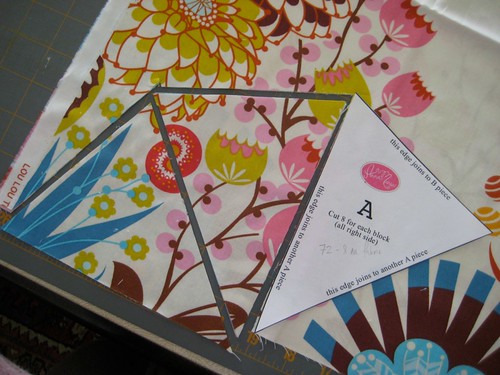
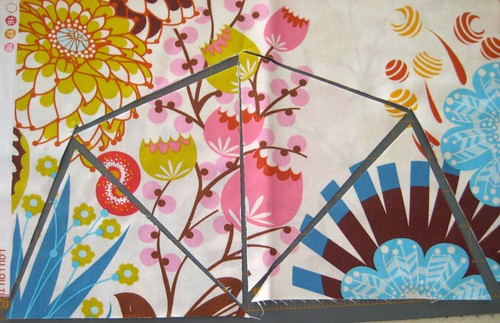
For the center star pieces I decided to cut them alongside each other essentially emulating the star pattern.  (see photo below)  Because I had my fabric folded over I was able to limit my cuts to 4 cuts per 1/2 yard and I have plenty left over to do use for else.  As this is for a the new design for the Squishes' Room I plan on using the extra fabric for details such as pillows, curtains and other accessories.  Because I am using solid fabrics to surround the spinning stars I didn't need 1/2 yard of each patterned fabric and probably would have been safe with a Fat Quarter for these center pieces.
IMG_4565
Piece A for Centers of Spinning Stars

IMG_4569
Cut pieces in the star pattern.  Fabric is folded over.
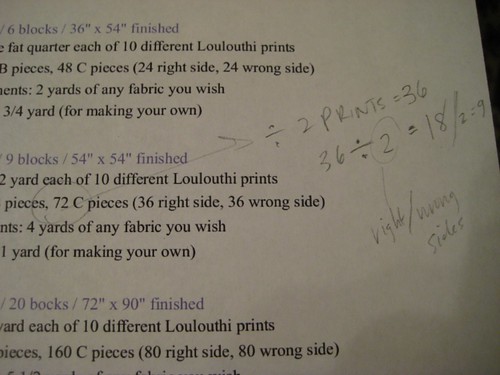
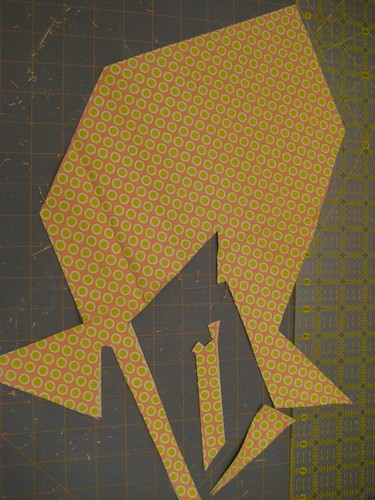
Then I had to do some math to figure out the other piecing.  I realized that the original instructions ask for 72 pieces (36 right side, 36 wrong side) of Piece C...which is perfectly doable...when you cut Piece C from every 1/2 yard of 10 different fabrics.  In my design I am only using two fabrics for Piece C (the Hugs & Kisses fabrics).  And...I only had 1/2 yard of each of those two fabrics.  Agh...this basically meant I had to be creative with my cutting!  I barely have scraps left of the fabrics I chose for Piece C.  So if you are doing this method buy a yard for the Piece C fabrics so that you aren't taking as much of a risk!
IMG_4592
My math on side of instructions.
IMG_4591
Cutting Piece C.  Figuring out how to cut 36 Pieces from 1/2 Yard.

IMG_4593
This is all I had left to show of this fabric!
Of course after the Piece C fiasco...which by the way was the worst shape to cut...I realized I wasn't going to have enough Solid Pink for Piece B.  Luckily I ordered more Free Spirit Designer Pink Solid from Pink Chalk Fabrics.  It just arrived here yesterday - just in time for me to pack it up!  I'm off to move to far far away.  Until I am back at the computer take care...

- rebecca lynne