Monday, October 31, 2011

Happy Halloween!

Like clockwork every year, IT begins.... it creeps in sometime during the hazy ochre-tinted days of late August, when the faintest chill ripples through the evening air... Sometimes, it rears its head earlier, standing out amidst the fireworks and cotton candy sweetness of summer celebrations. I used to be embarrassed and would keep it to myself. For a while I tried to hide my true feelings, from my best friend and even my husband. However now I've decided to embrace it. Whether it's simply due to not caring what other people think as much (thank you to my early 30s) or the fact that my planning gets more elaborate and involved with every year that passes and requires more prep time, is up for debate. To what am I referring, you ask? Why, my HALLOWEEN OBSESSION of course! Pumpkins! apple cider! scratch that-- apple cider donuts! ghost stories! haunted houses! swirling red leaves! elaborate costumes! candy! The turn of the seasons and the thrill of letting your imagination run really wild! Did I mention pumpkins?? Move over Martha, you're not the only witchy lady with a few tricks up her sleeve!

Okay- so you have likely guessed by now that I'm not Rebecca (Her holiday is Christmas...) This is her BFF LDR.

When Rebecca asked me to come up with a Halloween-themed guest post, I was Thrilled but definitely felt the pressure to deliver something interesting to all of her faithful followers. The bar has been set high by previous guest-posters. Rebecca and I have a long and colorful Halloween history that spans more than a decade, and I am SO sad that since she and Mr. MRL have left Brooklyn for (literally) greener pastures, we won't get to celebrate together in person this year. However, thanks to this Halloween post and about a hundred emails, photos and pinterests back and forth about the Bestholidayoftheyear, ahem, I can safely say that she is with me in spirit!

Let's get Serious: The Concept: Some Halloween celebrations are lighthearted and fun for all ages; the costumes are silly and nobody gets scared. And some celebrations are, well… Terrifying. This Halloween I decided to take my annual celebration down that bloody, dark and nightmarish road that only a brave souls few venture down. To that end, I hosted a formal four-course dinner party for twelve of my dearest – The Halloween Feast.

The Decor: I’ve been using my Tricks & Treats pinterest board over the last couple of months to loosely curate a mood board for the event. Here are some themes I played around with: vintage glassware, candles, victorian lace, requiem, bloody murder, oddities & curiosities, crimson, silk, 1920s jazz, skulls, victrola, gothic literature, the last supper, día de los muertos….. you see where I’m going with this? I arranged two tables in a T shape, used a deep red fabric for the tablecloth, made my own black satin ribbon trimmed napkins out of plain off white muslin, and clustered dozens of candles along the center of the table. I was so thrilled to be able to use some of the vintage glassware I’ve been collecting: etched 1930s Tiffin champagne glasses, an assortment of unique cordial glasses, 1942 Libbey glass gold tumblers and my 1968 Libbey gold partridge old fashioned glasses. From the ceiling, using fishing line, silver hooks, LED lights, hand-dyed cheese cloth and lace, I created the illusion of a floating chandelier (photo below).

The Menu: I steered clear of eyeballs, marshmallow ghosts and chicken fingers that look like actual fingers. Sorry Martha, no thanks. Instead I concentrated on color, texture and presentation for a menu to delight and enchant our guests

Halloween Feast Menu
The Bloodletter – scarlet margarita made with fresh beet, orange and lemon juice with a black lava salt rim

Crown of Roasted Thorns (pan-fried baby artichokes with fresh parsley, lemon, red pepper and shaved parmesan)
Fall Salad of mixed herb greens and baby romaine, avocado, blue cheese, walnuts and green apples
Finnochio (Fennel) Gratin with an herb bread crumb crust
Baked onions in cream, stuffed with butternut squash
Roasted pork tenderloin with blackberry and rosemary wine reduction
Roasted root vegetable pot pies with a flaky tarragon crust
Dark chocolate mousse and homemade marshmallows, served in gilded mini pumpkins
Black currant liqueur & apple brandy


The Finished Event: I've assembled some photos for all of you. So please, while you couldn't be present at the dinner itself, I hope you enjoy this Feast for your Eyes. I hope this inspires each of you to take your Halloween celebrations to the next level. And, if I've creeped any of you out in the course of my post then I've done my job!! As for me, I'm already planning for next year!

Happy Halloween!
Lauren D. Smith

Check out other party planning ideas and recipes at soireebkny.com


Creating A Frame Pouch Template

Frame Pouch Along


Of all of our PAL posts this will be the most technical.  It involves...math...bleh...so bear with me.  I have done my best to take lots of photos to walk you through my method of creating a frame template.  In addition to reading through my tutorial it might also be a good idea to visit U-Handbag's Tutorial or doing a Google search to find other methods and suggestions out there.  If you find an awesome tutorial do share with us in the comments!  We are all here to learn...including me.   

Materials:

  • Pouch Frame you intend to use
  • Paper or Pattern-Making Material (I usually use regular printer paper, nothing fancy)
  • Pencil
  • Ruler
  • Scissors
  • A bit of patience and some creativity are always helpful too

1. Outline Your Frame
Yes, I'm really going to be that basic.  Wink.  See?  Easy peasy.  So, get your handy dandy pencil and outline your frame.  Please mark the end of the frame, where the hinges end, with a horizontal linear mark as I have done below.
DSC_0194
Outline Frame

2. Mark the Opening Seam Allowance
The seam allowance on the top of your pouch will a standard 1/4" seam allowance.   

Let's mark that seam and start the first bit of our design by finding the highest point of your frame outline. Using the highest point (if your frame is curved then yes, one portion will be higher) take your ruler and measure 1/4" above the outline.  

DSC_0196
Mark 1/4" above highest point of frame outline
Next locate where the curve of your frame begins on each side.  You know, where the frame sides begin to curve down...  Make a small mark on each side for those, a dot or a line parallel to the 1/4" mark will work.  [Don't judge my extra mark, I am using pen...you have pencil and can hopefully erase!]

DSC_0197
mark where the curves begin on your frame

Then create a straight line using these marks.  This will be the opening for your pouch!      
DSC_0200
straight line, this will be top seam and opening for pouch

3. Creating the side seams and hinge portion of template
Still with me?  Good.  Here is the trickier part.  We now need to create the sides of the template and we have to keep in mind that the hinges need some breathing room in order to open without tearing your beautiful fabric.  So...I've seen a few methods on this...most get me lost halfway through...  Let's see if I can walk you through my version.  Here we go...

First, take your frame and place it against your straight line.

DSC_0202
frame against straight line

Then, here is where I have gotten lost before, turn your frame so that the corner (where the frame starts curving down) meets the edge of the line...
DSC_0204
turning frame so corner meets edge of line

You want your frame to be turned to create an angle of 135 degrees.  Why that angle?  I'm not sure, but it is the one that has worked on past templates...so why mess with a good thing?  (If you try other angles do tell I'm curious to know how they work!)

DSC_0211
135 degrees
As you can see in my hatched out line above...it sometimes takes maneuvering to figure out 135 degrees.  Again, you should be using pencil for a reason!  If you have one you can also use a gridded ruler and turn it so that your straight horizontal line goes through the squares to create the angle.  If not, don't stress, 135 degrees is a suggestion but nothing that will ruin your pouch just try to get it to look close!


DSC_0220
Using a lined ruler to get your 135 degree angle


Once the angle nonsense is figured out you will trace the length of your frame to the end of the hinge.  Like so...

DSC_0205

Then, and this is where we want to give our hinges some breathing room, you will add 1/2" in length to that seam line.  See my photo...

DSC_0207
add 1/2" line to end of trace

Repeat on the other side.  Your template should now look like this:

DSC_0210

Before we move onto designing the body what you want to do is make two horizontal linear marks at the end of your template.  This marks that this is what I like to call the Non-Negotiable Section.  Basically, it reminds me that anything above these marks should not be altered because they are drawn to fit the frame I have chosen.  Anything below the lines can be changed a thousand times as you decide what kind of shape you'd like for your pouch.

DSC_0213
mark your non-negotiable section

4. Creating the Body of the Template
This is where you are free to do your thing!  I hope you have had a chance to research the type of shape you'd like for your pouch.  I am going with a coin purse type pouch so I've decided to go round.  A first for me.  

So go ahead...put your frame down on your paper so you can have an idea of what size you are going to want to match your frame and start drawing!  

TIPS:
- Calculate a 1/2" seam allowance for your body.  Anything under the Non-Negotiable Section can be altered along the way.  You can always sew a larger seam, but you cannot uncut fabric.  
- Also, if you want the bottom of your pouch to be squared off then you will want to add more length to your design to make up for the squaring off.

Let me demonstrate a bit...

So I started playing around with my round shape and came up with this idea on the left.  But then I decided it didn't come out enough on the sides.  Instead I liked the puffier look on the right.

DSC_0217      DSC_0218

If you want a squared bottom, a pouch that can stand on its own then you will want a straight line at the end of your template.  By squared bottom I mean this:

DSC_0233

The advantage of a squared bottom is that it gives the pouch some depth.  You can fit different shaped items inside because the pouch has some openness to hold them with a squared bottom.  I will demonstrate playing around with what amount of squaring off you may want when we get to sewing.

When you make a squared bottom you can have whatever type of sides you'd like.  Straight...or round...

DSC_0223      DSC_0224

Just keep in mind.  Your bottom will be shortened by the squaring off.  So...if you'd like your bottom to be a certain length from your frame I suggest drawing that out in your template and then adding some fabric at the bottom.  I did so here with the red lines to demonstrate.  As I said in the tips above -- you can always change your seams while you sew but you cannot uncut your fabric!

DSC_0226
add some length to your bottom if you would like a large squared off bottom
If you have any doubts about the size of your pouch...better to err on the side of caution and add more.  We can always take fabric off later when we sew.  

DSC_0236

5. Cutting Out the Template
If you are anything like me you are probably wondering how you are going to even off your design.  If you freehand drew then it is unlikely your design is perfect and even if you used a ruler unless you have graph paper it isn't going to be exact.  So, here is my answer to that...

Start by cutting One Side of your non-negotiable section.  

DSC_0235

Then cut the top horizontal line.  Your opening seam.  Once those two sides are cut...fold your paper and do your best to match the corner of your cut seam to the drawn corner of your uncut seam.  You know, even it out.  Wink!

DSC_0237

Once your paper is folded start by cutting the 2nd non-negotiable portion.  Then...flip the paper over and see which half of your drawn design you prefer.  When you've chosen, simply keep your paper folded and cut along that line.  This will ensure that your sides match!

DSC_0238

The finished template should look like so...

DSC_0239

Did this make sense or was it all blahdety blah blah to you?  I hope I was clear and if you have any magical methods of your own do share.  I love improving my techniques with your help!

Tomorrow we will cut fabric and interfacing using your template.  If you'd like to embellish your pouch with embroidery, buttons, pockets or the like think about that now.  You will need to fit that in before we start placing all the pieces together!

Let me know how it is going!  If you have any questions please leave a comment or email me directly!  

- rebecca lynne

Thursday, October 27, 2011

Lesson Learnt - Thursday Think Tank October 27th

Hello rebecca's readers! Rebecca is off doing important work things so I'm here to keep you amused in her absence. Trust me you will laugh - at me, rather than with me...

Photobucket

I'm Lucy and I blog at Charm About You, mostly about quilting and the odd crafty thing I make in between quilts.

Although I don't like to admit it, I'm lazy - generally not in a slobby way (although I've been known to have those days) but I like shortcuts and quick results when I can get them. Quilting is teaching me patience and I started off well...

I did a quilt-a-long sampler quilt, took my time, and cut all those little squares for the borders (no chain piecing!!):


I like following instructions, patterns, advice! I like structure and rules. I am organised and can be extremely motivated but I am also a great procrastinator and I really dislike hate change. I tend to stick to what I know and what I know I can do.
Recently there's been a bit of a shift, I've started expanding and trying new things. I'm exploring my skills because of all the wonderful inspiration and encouragement out there in blogland.
When I see all the amazing projects people are making I always want to try it myself!

There's a 'secret quilt' I'm working on and I've been using improv piecing techniques to make letters. So far it's going ok but I think I totally jumped ahead of myself and thought because I could sew a 'Y', I would be able to sew anything.

http://my.opera.com/cofoppyplop/albums/showpic.dml?album=375152&picture=5447381

Water lilies are so beautiful, I have a tattoo of some, why not sew one? Why not improv piece one?
Well, this is why:


It is a hideous mess of yuck. A blob of material in odd shapes. No really. Don't even try and say anything nice about it at all. It's all wrinkly because of the amount of times I scrunched it up and swore at it (that didn't make it wrinkly, it just made me feel slightly better)!

So I admit defeat, I admit there aren't that many shortcuts, I know I need to take the time to learn properly and be patient, I need to learn how to paper piece!

Would you like to share any disasters? No? I don't blame you. Why not just share with us what you've been thinking about, any quilting, projects your working on or musings... link up below!


Wednesday, October 26, 2011

Frame Pouch Along Timeline and Links

Frame Pouch Along Button


Come one, come all!  Join the Frame Pouch Along! (PAL)  Because I know you are all going to get so excited and want to race ahead to finish your pouches I have created a short timeline here...One Week.  In one week we can take advantage of your enthusiasm as well as WIP Wednesday and Finished Friday to share our pouches too!


PAL LINKS
Materials List
Monday October 31st - Drafting a Frame Pouch Template
Tuesday November 1st - Cutting and Sewing Fabric
Wednesday November 2nd - Troubleshooting Pouch Design
Thursday November 3rd - Attaching the Frame
Monday November 7th - Finished Monday!


Some additional notes...


The First PAL Post which includes the Materials List and can be found here.

Frame with Holes for Hand-sewing

If your frame is the type that has holes to attach the fabric by hand-sewing then you will also need a curved needle!  Sorry I forgot about this detail...I hope this doesn't mess up anyone too much.

Also, for those of you Type A people out there (like moi) you may want to grab some scraps, muslin, whatever extra fabric to make a mockup of your design.  Just to see whether you like the shape etc.  If you are Type A+ then you've probably already thought of this.  Wink!  I'll talk more about this on November 1st but be ready to have some fabric handy to try your shape out if you'd like.

Please leave me a comment and let me know if you are still on board and have your materials...or if you are having any problems gathering your items.  I can't wait to start creating with you!

- rebecca lynne

If you'd like - grab a button!!!
Frame Pouch Along

Monday, October 24, 2011

Ho Ho Ho To Do Lists [Making Christmas Link Up]

I am literally taking a break from quilting the H&H Quilt to quickly write a post to link up to Janine at Rainbow Hare Quilts.  I missed her link-up last week...because I was announcing her win of the 55 Fun Followers Giveaway.  [I know Janine has been busy and probably hasn't read her "you won" email from me or read MRL in a bit so I don't think she knows she won yet...  Heh heh, Janine hopefully you are checking out this post!!!  ;)]

So onto this week's Making Christmas...

As I wrote on my last Making Christmas Post I figured out my Christmas palette and fabrics for this year. Here they are in person!

DSC_0048

In case there is any doubt.  I LOVE THESE FABRICS!!!  So what could I possibly be making with these lovelies?
- 12 Days of Christmas Sampler QAL - allegedly starts tomorrow
- Table Runners - design figured out, have to find time to cut/sew you know the usual...

Plus I have my To Be Made as Gifts List:
- 3 Crayon Rolls
- 2 Marker Rolls (hey, what can I say these kids are picky)
- Finish my secret project
- Get the TBs top done (pfft)

Oh AND I'd really like to make the girls stockings.  I have stockings I can use for them...but they aren't special Just For Them stockings.  So it would be cool if I could get myself together enough to make ones just for them.  But, I'd rather wait another year if it means making them better as opposed to rushing.  Which is why it goes on the floating list...i.e. this paragraph.

Photobucket

Are you Making Christmas?  If so please check out Janine's Making Christmas and join the fun!

- rebecca lynne

Sunday, October 23, 2011

FINISH H&H [Sunday Sewing Stats]

Did you know that Bloggers' Quilt Festival is October 28th to November 4th?  Yes yes yes...go check it out of you don't know what I am talking about and then come back...

So...my only hardcore goal this week is to take... 
THIS
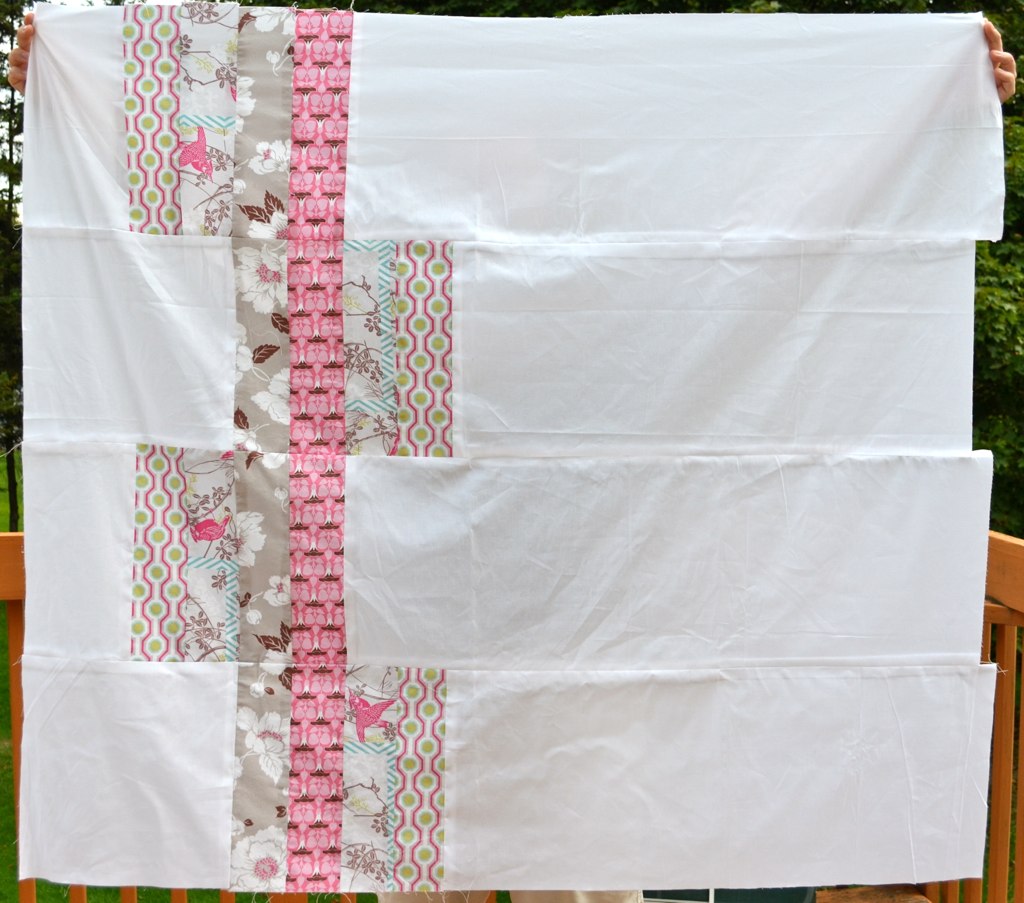
Hummingbirds & Hexagons


+ THIS

Hummingbirds & Hexagons Back

Get going on a lot of THIS RIGHT HERE...

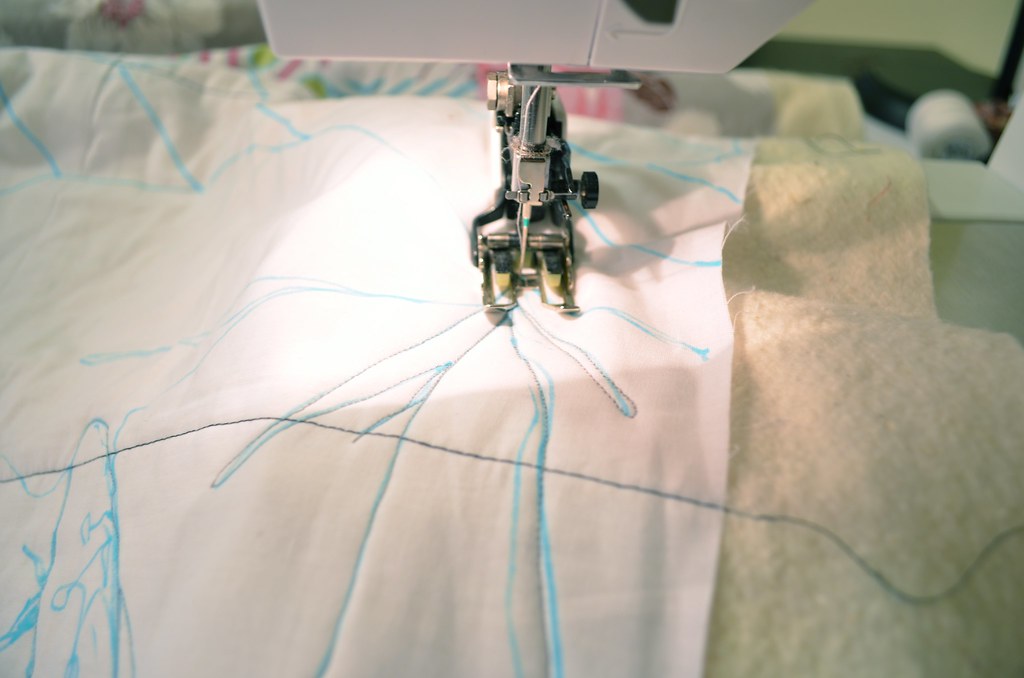
Hummingbirds & Hexagons FMQ


I know I could always link up another finished quilt like XOXO...but this is the quilt I really want to share at the Festival.  It features a one of a kind piecing design (laid out by my parents), I designed the back, and the Big Blossom FMQ is really going to be special to me and mine no matter how sketchy or smooth it turns out.

So that is my goal!!!  Can I do it???  Damn straight I'm going to do it! (yup, that's me pep talking myself!)  

In other goals:
- PAL Date List Tomorrow
- Halloween Costume Finishing 
- Miss V's 1st Birthday Party this upcoming Saturday (a month late but we had scheduling issues)

Oh and did I mention I will be gone Thursday and Friday at a Legal Training?  Geez, this lawyer stuff really gets in the way of everything else doesn't it...ugh!

What are your goals this week?

- rebecca lynne

Friday, October 21, 2011

Excuse me? A TGIFF Post

**UPDATED TO ADD NEW PHOTOS BELOW!!**

As Miss E would say "What the whaaaat?"  I have another quilt top finished!?!  Are you KIDDING ME???

You may remember that I finished this one last week.

1 last week + 1 this week = 2 Quilt Tops in 2 weeks

WHAT???

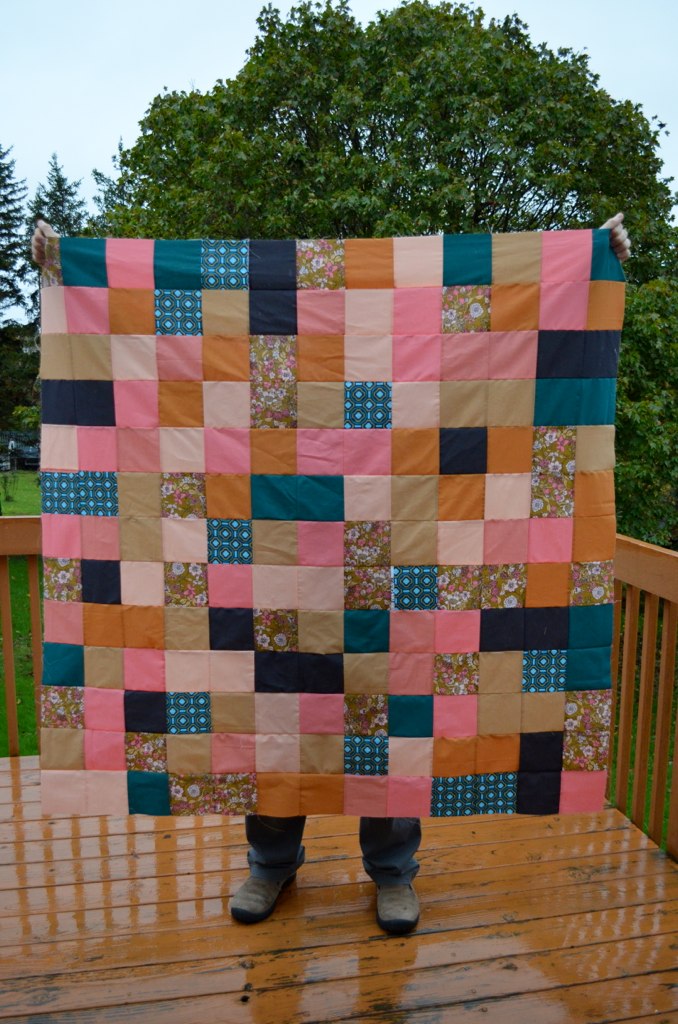
DSC_0035
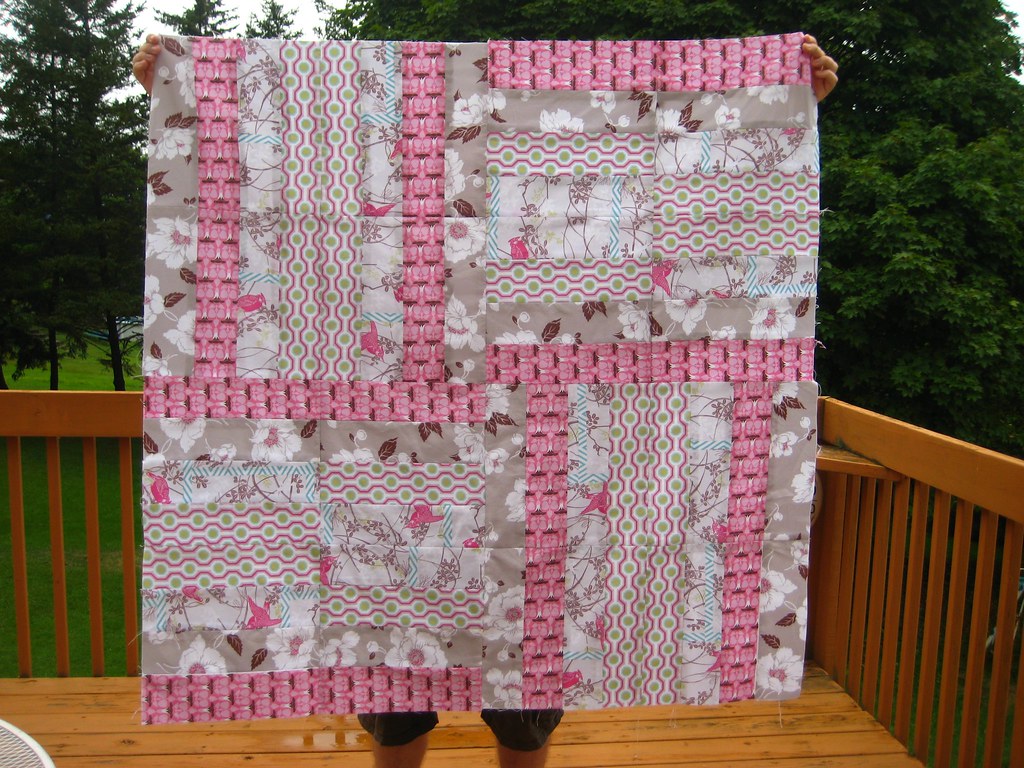
Dead Simple Quilt Top


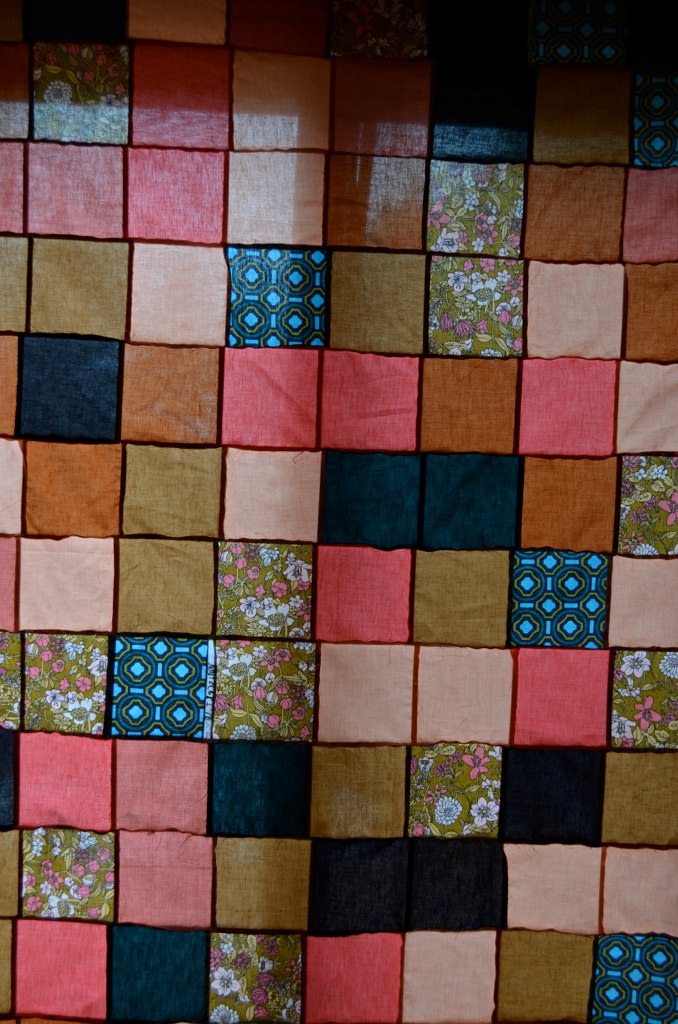
DSC_0041
Quilt Top Stained Glass Shot


If you are new to MRL and interested in learning more about the Dead Simple Quilt feel free to check out its progression here.  As always it is raining here (ugh, seriously usually I don't mind but lately there has been no respite from the rain) so I wasn't able to take some sunny shots of this quilt.  It is actually softer looking in different lighting.  I will just add some later but I did not want to miss out on Ms. Erin's guest TGIFF Post!

Have a good weekend everyone!

- rebecca lynne

p.s. Interview went well.  Thanks for all the support and well wishes!  It is nice to have possible job options isn't it?  We'll see what happens...

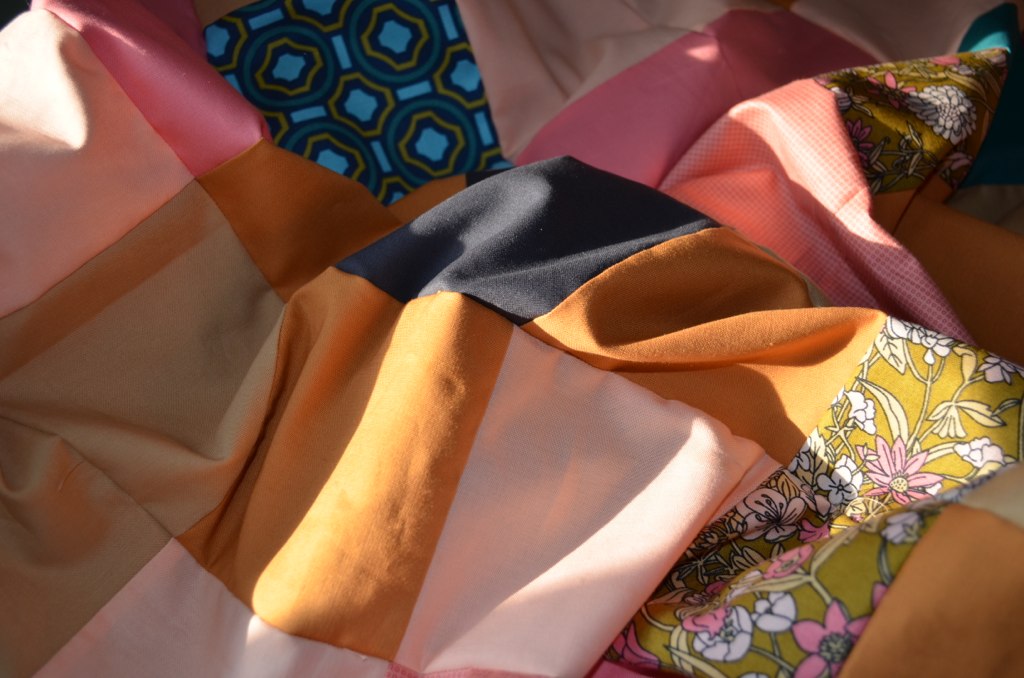
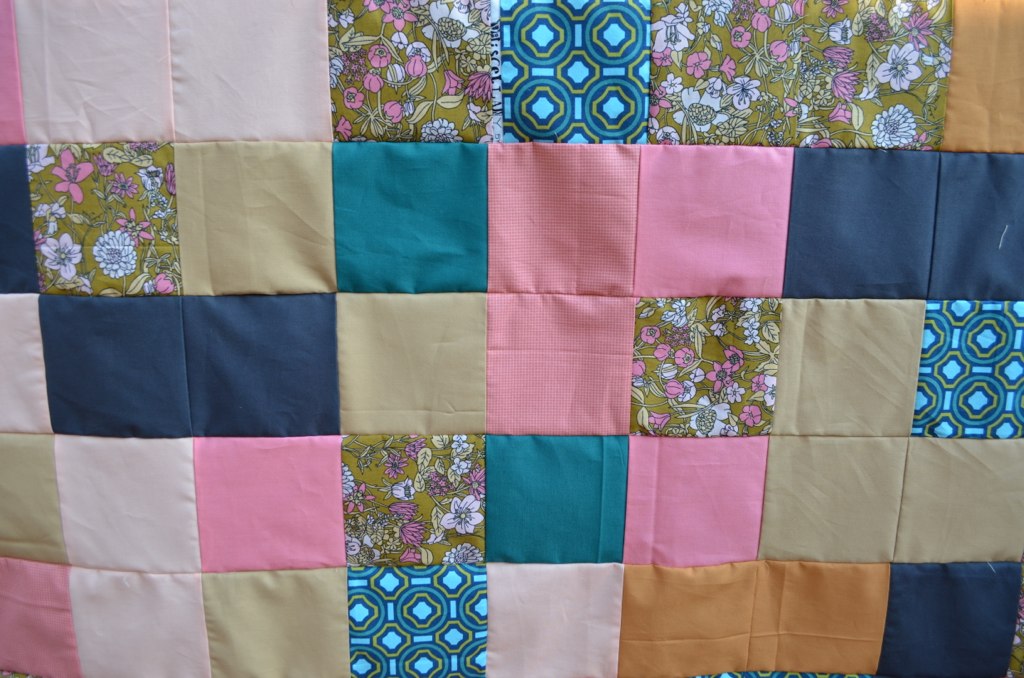
UPDATE on Sunday October 23, 2011 --> Finally some sun.  These photos show a more accurate coloring of the fabric...


Dead Simple Quilt

Dead Simple Quilt

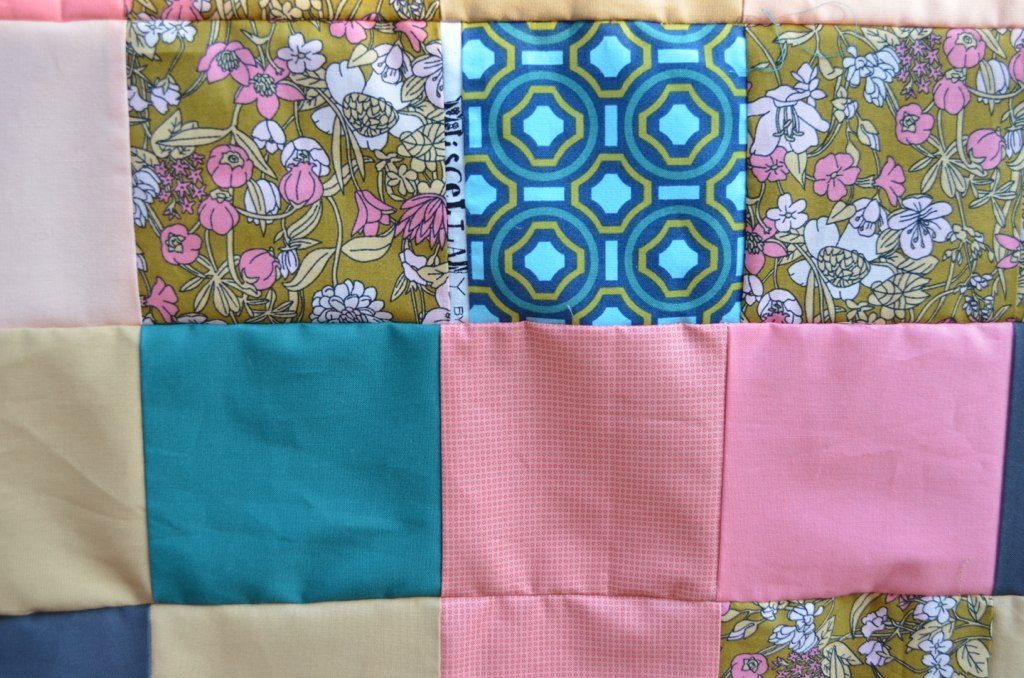
And a shot of the added selvage...I love this Miscellany piece here!!

Dead Simple Quilt